
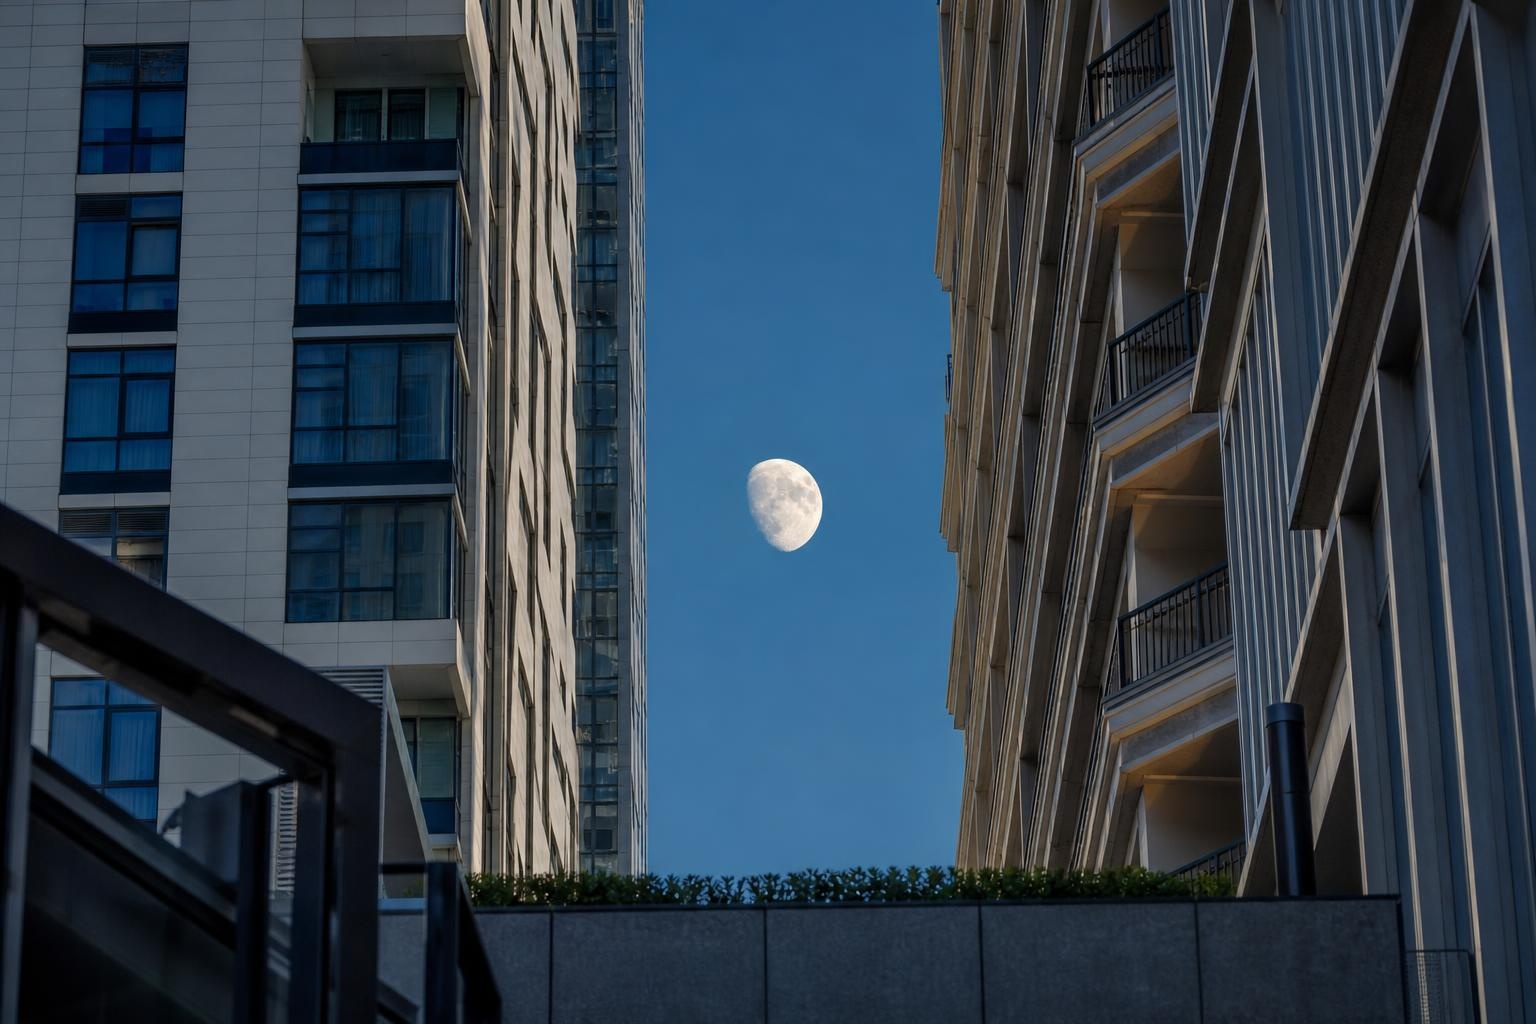
Rooftop stargazing in Asia does not have to mean finding a remote observatory or carrying a telescope through a hotel lobby. A permitted, open-air roof can give you a wider slice of sky than the street below. The trade-off is that city light, weather, access rules and the Moon itself will decide what is realistically visible.
The best plan starts with one target. Do you want to study the Moon, identify a few bright objects, watch a predicted event or simply spend half an hour looking up? That answer matters more than the height of the building. A bright urban rooftop can be excellent for the Moon and disappointing for faint stars, while a darker roof may still fail if cloud, glare or a locked access door gets in the way.
Choose the observation before you choose the rooftop
The Moon is the most forgiving place to begin. NASA’s Moon viewing guidance explains that it can be observed with the unaided eye, binoculars or a telescope. It also notes that phases other than the full Moon can reveal stronger relief along the terminator, the boundary between lunar day and night, where shadows make craters and mountains easier to read.
That changes the planning question. A full Moon may look dramatic above a skyline, but it is not automatically the most detailed phase for observing lunar terrain. Conversely, a night with less moonlight can be more useful when your priority is seeing fainter stars. Decide which experience you want before treating a bright Moon as either an advantage or a problem.
| What you want to see | What matters most | Useful rooftop choice |
|---|---|---|
| The Moon | Moonrise, Moon position and a clear sightline | An open horizon with limited direct glare |
| Bright stars or planets | Clear sky, low cloud and less local light | A shadowed area away from illuminated signs |
| A timed sky event | Correct local time, direction and access window | A roof that will be open before, during and after the event |
| A quiet night-sky pause | Comfort, permission and a safe place to stand | A stable, uncrowded area with an easy exit |
A rooftop bar and an observation roof are not the same thing. Music, service lighting and other guests may be central to the first experience. If the night sky is the main purpose, a residential roof, public observation area or hotel space should be used only when access is explicitly allowed and the activity does not interfere with normal operations.
Read the night in four signals
1. Moon phase and timing
Check the Moon’s phase, rise time, set time and direction for the exact city and date. A phase label alone is not enough: the Moon may be below the horizon during your available hour, hidden behind the building mass or visible before the sky becomes fully dark. NASA’s Daily Moon Guide is a useful general reference, while a national observatory or meteorological service should provide the local timing you actually use.
2. Astronomical twilight
Sunset is not the end of twilight. The sky continues to darken in stages, and a rooftop that looks washed out just after sunset may become more useful later. The Hong Kong Observatory’s astronomical observation portal shows the kind of information worth checking: astronomical twilight, Moon and planet rise and set times, current Moon phase, cloud, rainfall and night-sky brightness. Use the equivalent official service for your location rather than applying Hong Kong times to another city.
3. Cloud, haze and visibility
Cloud can cover the target completely, but a cloud-free icon is not a guarantee of a crisp view. Haze, mist and suspended particles can reduce contrast, especially toward the horizon and above the brightest part of a city. Rooftop Asia’s guide to rooftop visibility in Asia explains how to separate these conditions before leaving.
Look at the most recent official forecast and, where available, satellite, radar or all-sky imagery. The useful decision is not whether the whole night is labelled “clear.” It is whether your target’s direction and time have a workable window.
4. Local artificial light
A rooftop can sit above street lamps and still be flooded by facade lighting, decorative strips, digital signs or bright interior windows. DarkSky International’s responsible outdoor-lighting principles emphasize lighting that is useful, targeted, low-level, controlled and warmer in colour. A visitor cannot redesign a building’s lighting, but can choose a position where direct light does not enter the eyes.
Do not cover, switch off or interfere with safety lighting. Instead, stand in an approved shadowed zone, turn away from bright screens and give your vision time to settle. If the roof remains intensely lit, adjust the goal: observe the Moon, enjoy the skyline or return under better conditions rather than expecting a dark-sky experience in a luminous city centre.
Pass the rooftop test before carrying equipment upstairs
Access is the first control. Confirm that the rooftop is open to visitors at the intended time and that photography or observing equipment is permitted. A building resident, hotel guest or restaurant customer does not automatically have permission to use every roof area. Locked service roofs, plant rooms and maintenance zones are not shortcuts to a clearer sky.
Ask four practical questions:
- Will the roof be open for the complete observation window?
- Are binoculars, a small tripod or a camera allowed?
- Is there a stable place to stand without blocking circulation or service?
- What is the indoor route if wind, rain or lightning changes the plan?
Keep equipment inside barriers and away from edges. Never lean over a parapet, place a tripod in a doorway or create a trip hazard in a dark circulation route. A small, hand-held setup is often more suitable than a large telescope in a shared city space.
Use the lightest equipment that answers the question
Start with your eyes. Identify the Moon, the brightest visible objects and the shape of the open sky before unpacking anything. This tells you whether glare, cloud or the building itself has already limited the session.
Binoculars are a practical second step. NASA’s guide to binoculars for skywatching describes them as accessible observing tools with a wider field of view than many telescopes, useful for the Moon and bright star fields. They are also easier to carry and less disruptive in a shared rooftop environment. Rest your elbows on a stable surface or use a permitted support rather than moving close to an edge for steadiness.
A phone can help with timing and orientation, but its bright screen can undermine the adaptation you are trying to build. Prepare the essential information in advance, reduce the screen brightness and avoid repeatedly holding a luminous display in front of other observers. If you plan to photograph, check the venue’s rules before bringing a tripod or using long exposures.
Build the session around one clean sequence
Arrive while there is enough light to understand the route, barriers and weather shelter. Find the approved viewing position, identify the target direction and remove anything that could roll or blow away. Then let the sky change rather than rushing to capture it immediately.
- Scout: confirm access, barriers, exit and the least glaring position.
- Orient: check the target’s direction and whether buildings block it.
- Settle: lower unnecessary screen light and observe first with the unaided eye.
- Magnify: use binoculars only when the target and footing are secure.
- Review: decide whether conditions are improving or whether the session has reached its useful limit.
This sequence works better than unpacking everything at once. It also makes the visit easier to end if the roof becomes busy, the target disappears behind cloud or staff need to close the outdoor area.
Let weather set the limit
Wind affects both comfort and steadiness. A gust that feels manageable while standing can make binoculars shake, move loose equipment or turn a tripod into an obstacle. Use Rooftop Asia’s guide to planning around rooftop wind to check gusts, shelter and the value of an indoor fallback.
Rain and lightning require a firmer decision. Follow staff instructions and move into a substantial enclosed space when the outdoor area is closed. Do not wait beside a parapet for a final photograph. The current rooftop thunderstorm guide explains how to use official alerts and a conservative return-to-terrace plan.
Humidity can also change the feel of a session and may fog optics when equipment moves between air conditioning and warm outdoor air. Keep the plan simple, protect equipment from moisture and allow it to adjust gradually. If the lens fogs, do not keep wiping it aggressively; move to shelter and wait for the temperature difference to ease.
A realistic city-rooftop result
Urban rooftop stargazing is usually selective, not expansive. You may see the Moon clearly, identify a few bright objects and notice how the sky changes as twilight ends. You may also discover that direct light, cloud or building geometry leaves only a narrow observing window. That is useful information, not a failed evening.
A good rooftop session has three qualities: the target was chosen in advance, the roof was used with permission and the observer stayed within the limits set by light and weather. When those conditions align, even a daytime Moon framed between buildings or a small group of stars above the city can feel more deliberate than a long, equipment-heavy session with no clear purpose.
Plan around the sky that the city actually offers. Check the Moon and twilight, verify the weather, respect access rules and bring only the equipment you can use safely. The aim is not to turn every rooftop into an observatory. It is to make one careful observation from a place where the sky opens up.