
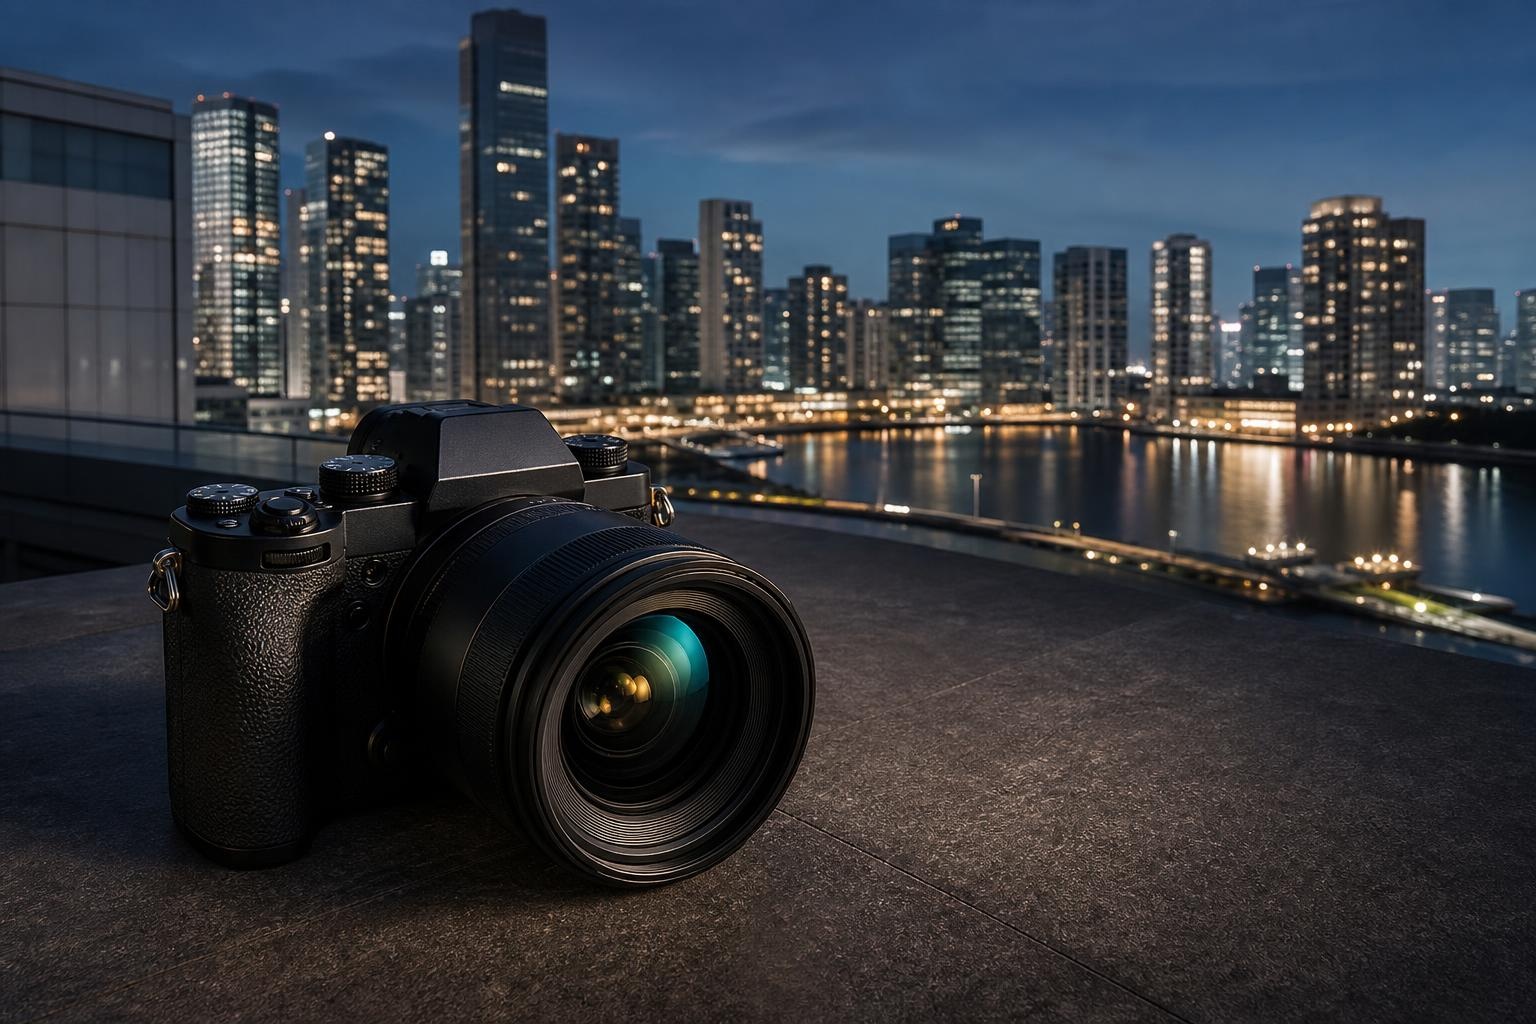
A rooftop can make a city look effortless: one horizon, a few towers and a sky changing colour above them. The photograph is harder. Bright signs compete with a fading sky, windows throw reflections across the frame, people move through the foreground and the best light often lasts only a few minutes. Good rooftop photography tips are therefore less about carrying more equipment and more about making a short, deliberate sequence.
This guide is designed for travellers using either a phone or a camera. It treats photography as part of the rooftop experience, not a production that takes over the table, the view or the evening.
Begin with three photographs, not thirty
Before the light starts to change, decide on three images you would like to bring home:
- The establishing view: a wide frame that explains the scale and shape of the city.
- The compressed city: a tighter frame that layers towers, streets, water or distant hills.
- The detail: reflections, a facade pattern, traffic, clouds or another small element that gives the city texture.
This simple shot list prevents the common cycle of repeatedly photographing the same horizon. It also encourages you to look beyond the most obvious landmark. Adobe’s cityscape photography guide describes vantage point, framing and perspective as central parts of a city photograph, and suggests looking for lines, shapes and reflective surfaces as well as the skyline itself.
A useful rooftop photograph has a clear subject. If the frame contains every tower, every table and half the sky, the eye has nowhere to settle. Move a little, simplify the edges and decide whether the picture is about the horizon, one building, the weather or the movement below.
Before sunset: build the frame while you can still see it
Arrive early enough to understand the view in daylight. Look for a clean horizon, but also for a foreground that gives the image depth: a dark architectural edge, a planted area, a reflection or a diagonal line leading into the city. Avoid including other guests unless they are part of your intended photograph and you have their permission.
Daylight is also the moment to clean the lens. A fingerprint that seems invisible on screen can turn every point of light into a soft flare after dark. On a phone, check the small lens nearest the edge of the device as carefully as the main one.
Then make one exposure for the sky and one for the city. Many phones and cameras can balance the two automatically, but you should still inspect the brightest part of the image. If the sky has become a featureless white patch, reduce exposure slightly. Recovering dark buildings is usually easier than restoring highlights that were never recorded.
Sunset timing changes quickly across Asia and across the year. Treat it as a planning window rather than a promise of colour. Cloud, haze and rain can produce a quiet grey-blue scene instead of a dramatic orange one. That is still a valid city portrait. Rooftop Asia’s guide to Bangkok rooftop bars for sunset is a useful example of choosing the setting and pace of the evening, rather than expecting one guaranteed version of the sky.
Blue hour: let the city and sky meet
The most forgiving balance often arrives after the sun has disappeared but before the sky becomes fully dark. Building lights are visible, yet the sky still holds colour and detail. Adobe notes that twilight, often called blue hour, can give city photographs a cool blue hue; its light-trail guide also explains why this period works well when artificial light is visible without the scene falling into complete darkness.
At this stage, take the wide establishing frame again. Compare it with the daylight version. You may find that the city now has stronger visual order because illuminated windows and streets create a pattern. A river or glass facade may also begin to carry a second layer of light.
If you are shooting through glass, place the lens close to the window without touching it. Shade the space around the lens with a hand, a dark sleeve or a lens hood to reduce reflections. Turn off the flash. A flash will not illuminate a distant skyline, but it can illuminate the glass, nearby furniture or people and send those reflections straight back into the photograph.
Do not chase perfect colour by pushing every saturation slider. Blue hour already contains a natural contrast between the cooler sky and warmer city lights. A restrained edit that protects both usually looks more convincing than an image in which every sign and cloud has become equally intense.
After dark: choose stability before complexity
When the sky darkens, the camera needs either more time or more sensitivity to record the scene. Nikon’s guide to dusk and night photography explains the relationship between aperture, shutter speed and ISO, and recommends stable support for the slower shutter speeds used in low light.
For a phone, begin with the standard camera mode and hold the device with both hands. Rest your wrists or elbows on a stable surface if the venue permits it, but keep the device and your body well inside any barrier. Tap the main subject to focus, lower exposure if signs are burning out and make several frames. A short burst of careful attempts is more useful than continuous zooming and refocusing.
For a camera, a wider aperture or higher ISO can keep the shutter speed practical when you are working handheld. If a small tripod is allowed, use a timer or remote release to avoid moving the camera as you press the shutter. Do not assume that a venue permits tripods, clamps or professional-looking equipment; ask before setting anything up.
Long exposures can turn traffic into lines of light, but they are optional. Adobe’s light-trail photography guide explains that longer shutter speeds record the movement of lights and that a tripod reduces camera shake. On a busy rooftop, however, the technically possible shot may not be the considerate one. Skip it if the setup blocks circulation, occupies shared space or requires equipment close to an edge.
Use zoom to edit the city, not to rescue it
A wide lens makes the skyline feel expansive, but it can also make every building look small. A moderate zoom often creates a stronger image by bringing distant layers together. Look for a pair of towers separated by a street, a bridge aligned with the horizon, illuminated windows against a darker facade or a patch of weather moving across the city.
On a phone, optical zoom settings generally retain more detail than aggressive digital zoom. If the image becomes soft or blocky, take a wider frame and crop modestly later. The aim is not to prove how far the camera can reach. It is to remove distractions while keeping enough detail for the picture to feel deliberate.
Location changes the visual language before you touch a setting. A waterfront, a dense commercial district and a lower-rise historic neighbourhood produce different lines and layers. Our guide to Tokyo rooftops by neighbourhood shows why choosing the area can be as important as choosing the venue when the city view is part of the plan.
Keep the camera smaller than the experience
Photography etiquette is mostly spatial awareness. Do not stand in front of another guest’s table, hold a phone over a barrier, move venue furniture or use a bright light that changes the atmosphere for everyone else. Keep bags and tripods out of service paths. If staff ask you to move or stop, do so promptly; safety and house rules take priority over the frame.
Be equally careful with people. A wide city photograph can accidentally include a nearby couple, a private celebration or staff at work. Reframe, wait or ask permission before making someone recognisable. The rooftop is a shared hospitality space, not a public observation deck simply because it has a view.
Finally, put the camera down for a while. The strongest sequence often comes from three short moments: one in daylight, one during blue hour and one after dark. Between them, watch how the city changes without looking through a screen. You will notice which lights appear first, where reflections form and what the place actually feels like.
A compact rooftop photography plan
- Clean the lens and choose one wide view, one tighter city layer and one detail.
- Build the composition before sunset, while foreground lines remain visible.
- Repeat the main frame during blue hour and protect the brightest lights.
- After dark, stabilise the camera, make a few careful exposures and stop.
- Review for sharpness, reflections and unwanted people before leaving.
You do not need a perfect sunset, a large camera or the highest table to make a memorable rooftop photograph. You need a subject, a stable frame and enough patience to let the light change. Plan a small sequence, respect the space and leave part of the evening unphotographed. The images will feel more specific, and the rooftop experience will remain an experience rather than a shoot.